You can install vinyl flooring yourself with basic tools, careful preparation, and simple techniques that produce a clean, durable result. With the right prep and a few proven installation steps, you can lay vinyl plank or sheet flooring that looks professional and lasts for years.
This post walks you through essential vinyl flooring installation preparation, including measuring, subfloor checks, and layout planning. It also shows the techniques that create seamless seams and staggered planks for a polished finish. Follow the straightforward guidance to avoid common mistakes and complete the job efficiently.
Essential Preparation Steps
Prepare the subfloor, check for moisture and levelness, and choose an underlayment that matches your vinyl type and subfloor. Address cracks, high spots, and water sources before you begin to ensure a stable, long-lasting finish.
Surface Assessment and Repair
Inspect the entire subfloor visually and by touch. Run your hand across the surface to feel for bumps, loose areas, or gaps; mark defects with a pencil.
Measure flatness with a 6–10 ft straightedge or level. Any deviation over 3/16 in. per 10 ft for rigid vinyl, or over manufacturer limits for your product, needs sanding, grinding, or a self-leveling compound.
Repair wood subfloors by screwing down loose boards, replacing rotted planks, and filling gaps with wood filler or plywood patches. For concrete, fill cracks and spalls with a compatible patching compound and allow full cure time per product instructions.
Remove old adhesives and high spots. Adhesive residues can telegraph through thin vinyl; use a scraper, adhesive remover, or mechanical grinder as appropriate. Clean thoroughly of dust before proceeding.
Moisture and Leveling Considerations
Test concrete slabs for moisture using a calcium chloride test or a reliable relative humidity (RH) probe. Follow the vinyl manufacturer’s moisture limits; many require RH below 75% but check your product’s spec sheet.
Address moisture issues with an approved moisture barrier, surface-applied epoxy, or a water mitigation system when levels exceed recommended limits. Do not install vinyl over a damp slab without remediation.
Check for slope and localized high points. Use a self-leveling compound to correct areas beyond tolerance, and sand or grind isolated highs. Allow materials to cure fully and verify level again before laying flooring.
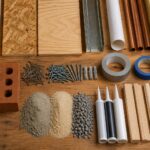
Selecting Compatible Underlayment
Confirm whether your vinyl product requires underlayment, built-in padding, or none at all by reading the manufacturer’s installation guide. Luxury vinyl plank (LVP) and rigid core products often allow different underlayments than sheet vinyl.
Match underlayment to subfloor type and needs: foam or cork for minor sound reduction on plywood, cementitious underlayments or specialized mats for concrete to manage minor imperfections, and waterproof membrane underlayment where moisture mitigation is needed.
Avoid underlayments that compress under load or react chemically with vinyl adhesives. Check thickness limits—too thick an underlayment can void the warranty or cause locking planks to fail. Install per underlayment instructions, taping seams where required and trimming flush to walls.
Techniques for Seamless Results
Prepare carefully, fit pieces dry, and choose the right cutting method and attachment system for your subfloor and plank type. Precision in measuring, clean cuts, and proper adhesive or locking engagement prevent gaps, lifting, and visible seams.
Measuring and Dry Fitting
Measure the room in multiple directions: length, width, and diagonals to check for squareness. Record measurements to the nearest 1/8 inch and calculate plank layout so end joints fall at least 6–8 inches apart between adjacent rows.
Dry lay full rows across the longest sightline to confirm pattern and stagger. Leave a consistent expansion gap per manufacturer—typically 1/4 inch for floating LVP and up to 1/2 inch for larger rooms. Use spacers to hold the gap and a chalk line to keep the first row straight.
Mock up the last row before adhesive or locking installation. Cut a few trial planks at the far wall to verify fit and reveal any issues with baseboard or door clearances.
Cutting and Trimming Methods
Use a utility knife and straightedge for most rigid-core or vinyl plank cuts: score, snap, and clean the cut edge. For precise internal notches or around pipes, use a jigsaw with a fine-tooth blade or a carbide-tipped blade to minimize chipping.
When cutting around door jambs, undercut the jamb with a jamb saw to slide the plank beneath for a flush finish. For intricate curves, a coping saw or oscillating multi-tool gives control and a clean edge.
Always deburr and remove loose material after cutting. Test-fit trimmed pieces before final placement and label cut pieces to speed installation.
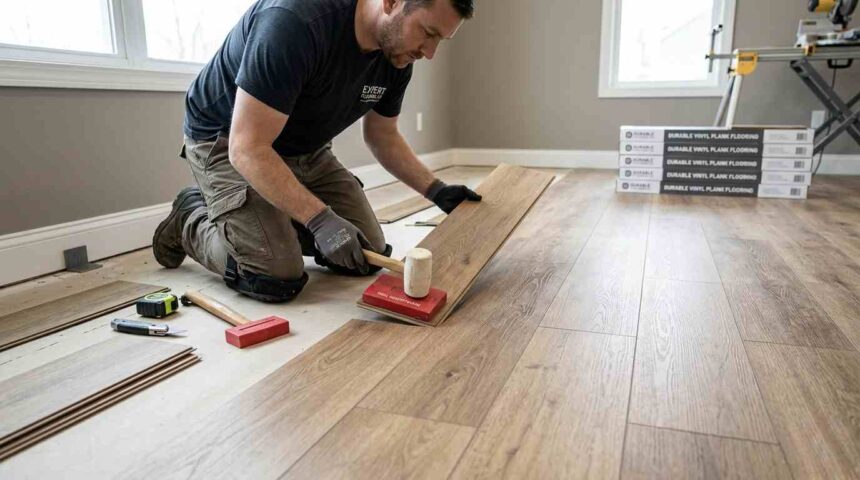
Adhesive and Locking System Application
Identify whether your product is glue-down, pressure-sensitive, or a floating click-lock system, and follow manufacturer open time and trowel size for adhesives. For glue-down, apply adhesive with the recommended notched trowel, working in 4–6 foot sections to maintain tack and prevent slippage.
For pressure-sensitive adhesive (PSA), remove backing steadily and roll the plank into place, avoiding air pockets. Use a 100–150 lb roller across each section after placement to ensure full adhesive contact.
For click-lock float floors, align the tongue and groove at a shallow angle and tap with a tapping block to engage seams fully. Keep seams tight but avoid forcing planks, which can damage locking hardware. Maintain the prescribed expansion gap at perimeters regardless of system used.